Plain, dull and boring was what my Suzuki DR200 used to be.
 |
| Before the transformation |
But! Special thanks to Juzz Wheelzz, one of Singapore's popular decal shops, my Suzuki DR200 underwent a cosmetic transformation with new colors injected onto areas like my fuel tank, side panels and front fender.
The great thing about decals is you can have almost any design you fancy, have them printed and stick em on. Tada! Your bike's done. When you have a change in taste and wish to try another design, all you need to do is just strip down the old decals and do up a new one!
It's a lot less hassle/messy compared to spraying on paint, which is permanent.
Now, doing decals may sound easy but it's so much more than just a "Print & Paste" thing.
I'm sure some of you may have encountered botched decal jobs before and the feeling is just so uncomfortable seeing your ride dressed like that.
Scaling of a particular design and achieving the accurate fitting according to the angle of your bike's proportion and parts is important, and takes skills to make it look flawless.
Large pieces of decals have a higher tendency to catch air bubbles during the decal application process so the decal specialist would have to be very careful and observant about this.
But before all the application process, designing usually takes the longest time. Sometimes you describe a particular design you want, and the designer produces something different from your expectation. Sometimes you think the design you just confirmed is the one you want, then you change your mind 2 days later because you didn't think the initial one was perfect.
Color matching must be taken into account too. It's best if you have a theme in mind.
 |
| With Bryan |
 |
| I'm sorry for using this picture hahah but credits to PulpMX |
The last thing you want is feeling pressured about telling your designer how you want your bike to look like and end up, you can't get the message across, your bike turns out looking miserable.
 |
| Credits to vitalmx |
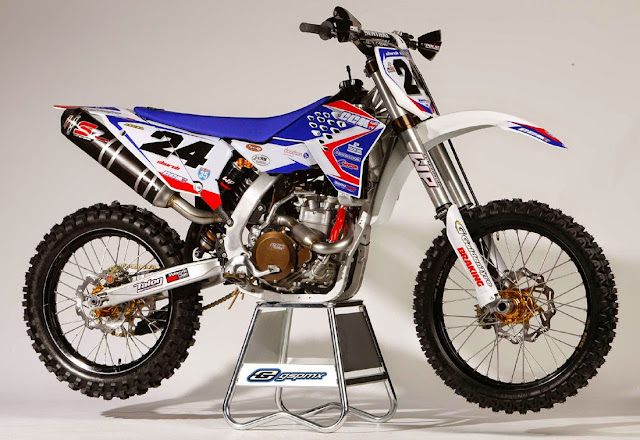
I started off by showing him a few samples pictures. Designs were more towards the sportier side although my bike isn't exactly super sporty looking haha. Compared to other MX bikes, mine looks.. mm.. more conservative. Hahaha.
H was a huge help too, by assisting me in designing my Beyond Everest logo which he probably had to edit it here and there almost.. 463 times? Haha not that bad lah uh. But with his pro Photoshop design skills, my desired logo was achieved! Yayyyy :D
 |
| Credits to motorsports.com |
Also, there's not much surface area to play around with on my bike, compared to sports bike where the fairings have more. Therefore, it was a little challenging as to how my bike could be designed in the best way possible, neatly incorporating every one of my sponsors logos in too.
Thanks to Kim, Lenny and Bryan of Juzz Wheelzz, my Suzuki DR200 is done up and ready to pose with the mountainous scenery in Tibet!!
 |
| Credits to destinationnepal |
So blessed to have Juzz Wheelzz as the Official Decal Specialist for my Beyond Everest ride! They even made Beyond Everest's banner and stickers which I'm going to give out to all of you!
Also much thanks to all my other sponsors who have so kindly supported me on this trip of my life, I'm proud to have their logos nicely displayed as part of my decal design :))
Looks like not only did my hair get a new color, so did my scrambler! And yes, it's themed Blue!
Juzz Wheelzz Graphix Pte Ltd
Address: 1007 Bukit Merah Lane 3, Singapore 159721
Tel: 8125 0456
Opening Hours: Monday - Friday 9:00am - 7:00pm
Saturday 9:00am - 6:00pm


